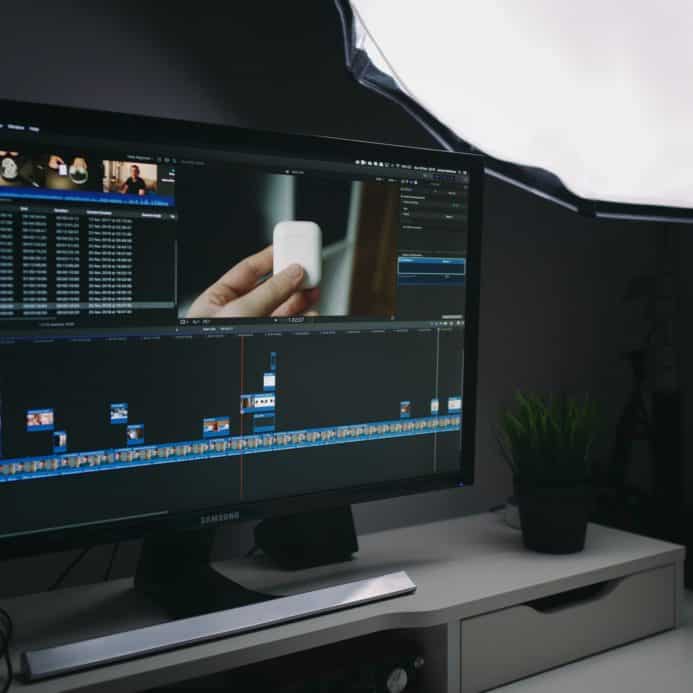
It’s really easy to add captions and subtitles to your project timeline in Final Cut Pro. Whether you are a filmmaker, television producer, or online video maker, it’s possible to automate transcription and then import an SRT file to create subtitles in any language in minutes.
Getting the SRT caption file is key to the process. It contains formatting information as well as timestamp start and end times of the captions. Final Cut Pro uses this information to place the caption at the correct point in your timeline.
7 simple steps to add captions to Final Cut Pro
STEP 1: Upload your video to Sonix
Upload your video file to Sonix. If you don’t have a Sonix account you can create a free trial here: https://sonix.ai/accounts/sign_up
STEP 2: Polish / edit your transcript in Sonix
Your file will be automatically transcribed in a few minutes. Once you receive it, edit the areas as needed.
STEP 3: Export SRT
Click “EXPORT” in Sonix and then select the “SRT” option. You can adjust the length, duration, and number of lines of your captions as you desire.
STEP 4: Open your project in Final Cut Pro
Open your project in the Final Cut Pro timeline and then click “Choose File”, “Import”, and then “Captions”. Navigate to and select the SRT file you exported from Sonix.
STEP 5: Choose caption role
In the “Import as Role” section, click the menu and choose a caption role, then click the pop-up menu on the right and choose a language subrole.
STEP 6: Position captions
In the “Insertion Time” section, select one of the following:
1. Relative to Timeline: This option positions captions in the timeline by adding the project’s start time to each caption’s start time.
or
2. Absolute: This option positions your captions in the timeline at each caption’s start time, regardless of the project’s start time.
STEP 7: Import captions
Click “Import” and the imported captions appear in a caption lane at the top of the timeline.
That’s it! It’s pretty simple to add captions to your Final Cut Pro projects.
World's Most Accurate AI Transcription
Sonix transcribes your audio and video in minutes — with accuracy that'll make you forget it's automated.


