Apple’s iMovie is a video editing platform made for iOS and Mac devices. If you want subtitles on your iMovie videos you’ve come to the right place.
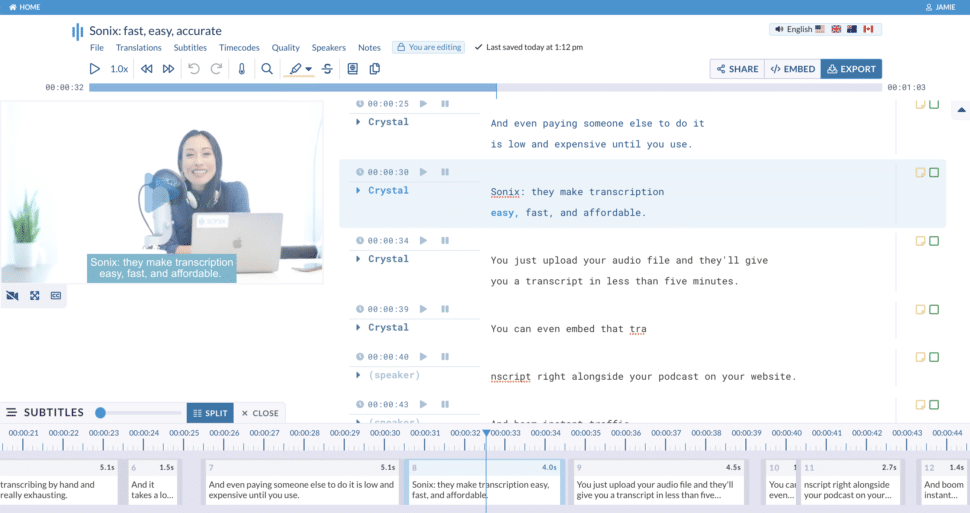
Unfortunately, iMovie doesn’t provide a mechanism to upload caption files so you’ll have to add them manually frame by frame if you want to do it inside iMovie. However, there is a faster, better and easier way using automated subtitle software like Sonix.
4 simple steps to automate subtitles for your iMovie videos
Step 1: Upload video to Sonix and receive automated transcript
Step 2: Edit transcript
Step 3: Click the “Subtitles” drop-down menu and choose character length / duration
Step 4: Click “Burn-in” under “Subtitles” menu
That’s it. It will take a few minutes to render your video and you’ll have a video with subtitles you can share anywhere.

If you really want to do it manually inside iMovie, here are 7 steps to manually add subtitles to iMovie:
- Inside iMovie click “File”, “Import Media” and select your file.
- Drag your file into the Timeline inside iMovie.
- Click “Titles” and select a title.
- Drag the title down to the timeline and position it with the speaker.
- Once the caption is placed in the Timeline you can remove excess text boxes.
- It’s a good idea to play back what you’ve just created to make sure the text aligns with what the speaker is saying.
- Edit as necessary and repeat for following frames/scenes.
World's Most Accurate AI Transcription
Sonix transcribes your audio and video in minutes — with accuracy that'll make you forget it's automated.


