Using Wistia can help you boost viewer engagement and reach a broader audience. But if you don’t have captions, not every viewer will understand the audio in your video.
Whether your viewers are hard of hearing, on the bus, at the office, at the dinner table, or while waiting in line, there are times when they will want to need media without sound. Providing captions makes your videos more engaging, memorable, and accessible.
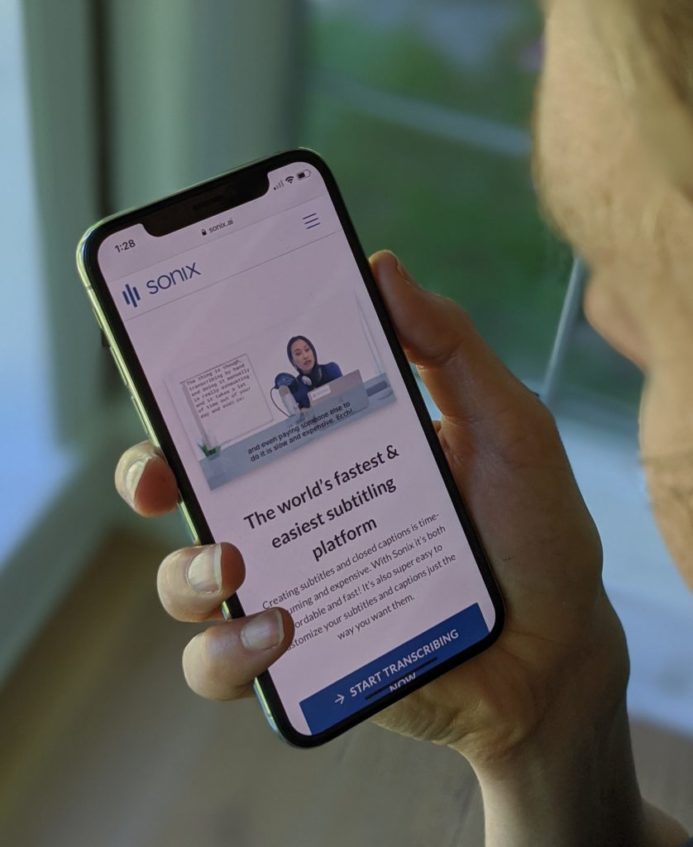
Here’s how to add captions to your Wistia video. Not only that, the captions can be created automatically using automated speech recognition which is both fast & inexpensive.
Below are 5 simple steps to create captions for your Wistia video
STEP 1: Upload video to Sonix
Locate your file and upload it to Sonix to get a fast, accurate automated transcript. If you don’t have a Sonix account you can create a free trial here: https://sonix.ai/accounts/sign_up
STEP 2: Polish / edit your transcript in Sonix
Sonix has a built-in text editor so you can polish the text while watching the video.
STEP 3: Export SRT
Click the EXPORT button in Sonix and then select SRT. At this point you can easily adjust the length, duration, and number of lines of your captions.
STEP 4: Add caption file to Wistia
Login to Wistia, locate the video you want to add captions to and click “Customize”. Scroll down and click on “Captions”.
STEP 5: Select SRT file
Locate and select the SRT file you exported from Sonix and voila! Your captions are added to your video.
That’s it! It’s pretty simple to add captions to your Wistia videos. The captions can improve your viewer experience and also help you reach a more diverse audience. This in turn, can increase your rank in search engines like Google and Bing.
Good luck!
World's Most Accurate AI Transcription
Sonix transcribes your audio and video in minutes — with accuracy that'll make you forget it's automated.


